
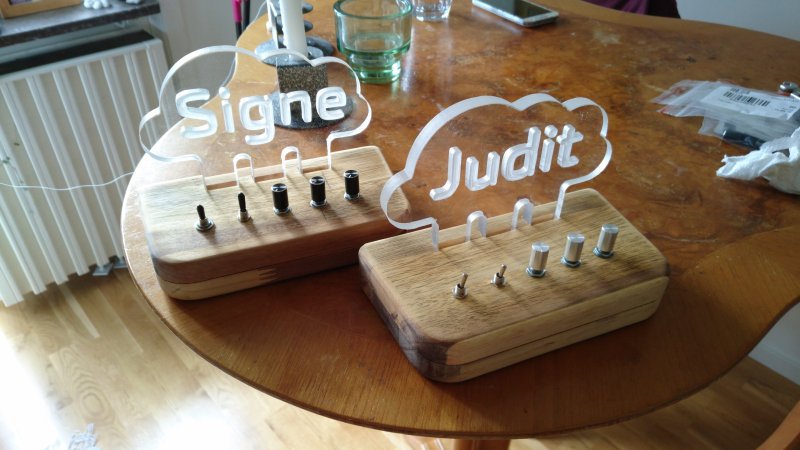
This is a small illuminated name sign made from plexi-glass. The sign is illuminated with an RGB LED-strip that is PWM-controlled via a PIC16F1824 micro controller. The brightness of the LEDs can be adjusted to achieve different color blends.
The Base
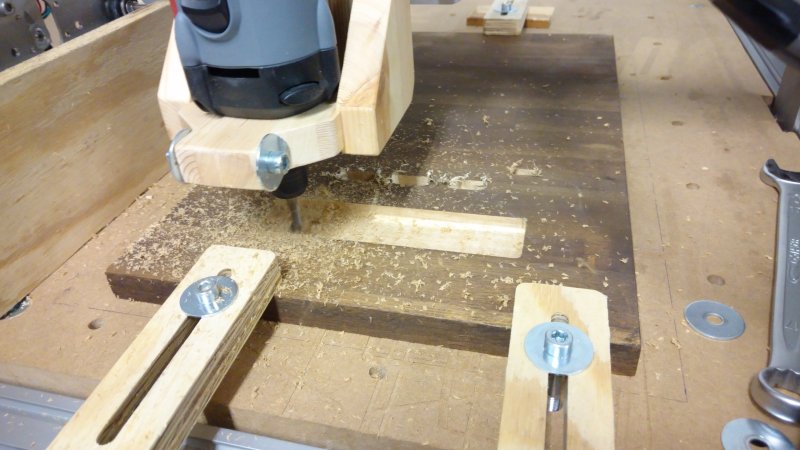
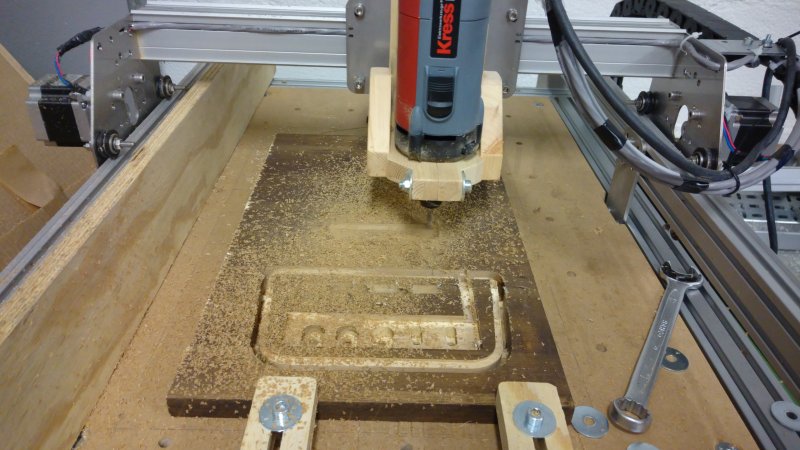
The base of the sign consists of a top and bottom piece that are CNC routed.
 This particular material is called Acacia and is commonly used in outdoor furniture.
 It mills quite well, however I think beech is still my favorite material when it comes to CNC woodworking.
 I created this small jigg to be able to hold the two pieces while routing the fillets on the top and bottom.
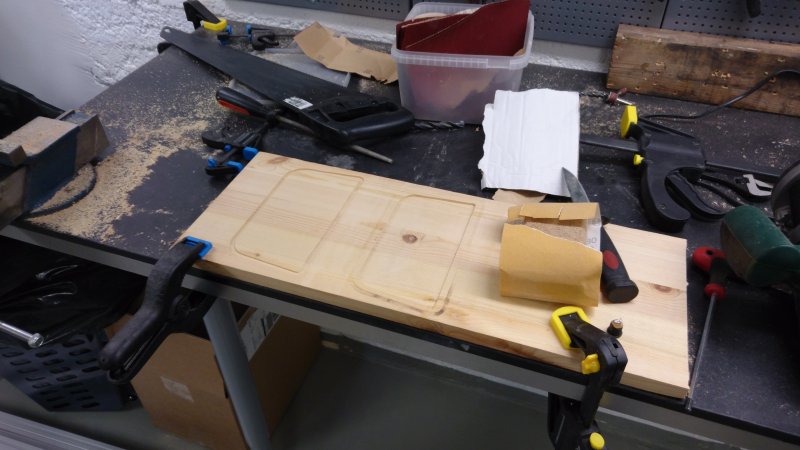
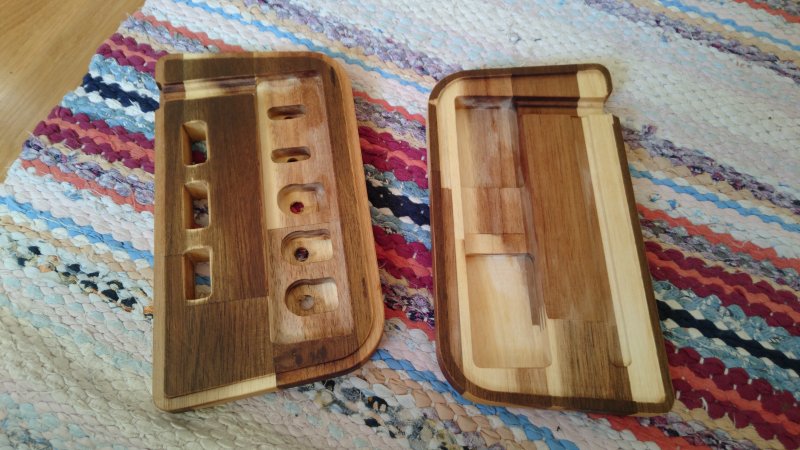 This is the inside of the finished pieces.
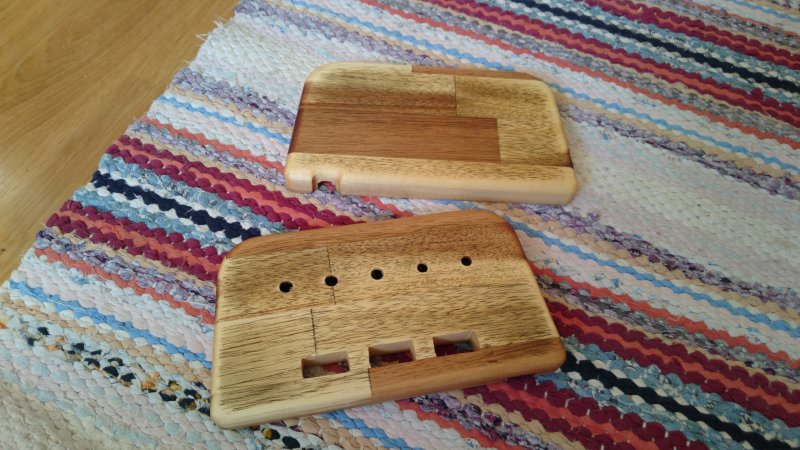 This is the outside of the finished pieces with some oil on.
The Sign
The sign itself is made from 10 mm plexiglass that is also CNC routed.
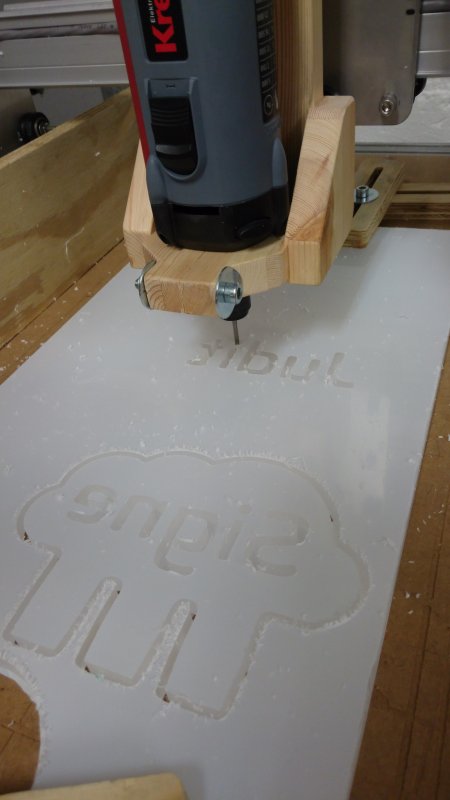 The signs are milled with the text mirrored. This makes the front of the sign the side that is uncut for a smoother look.
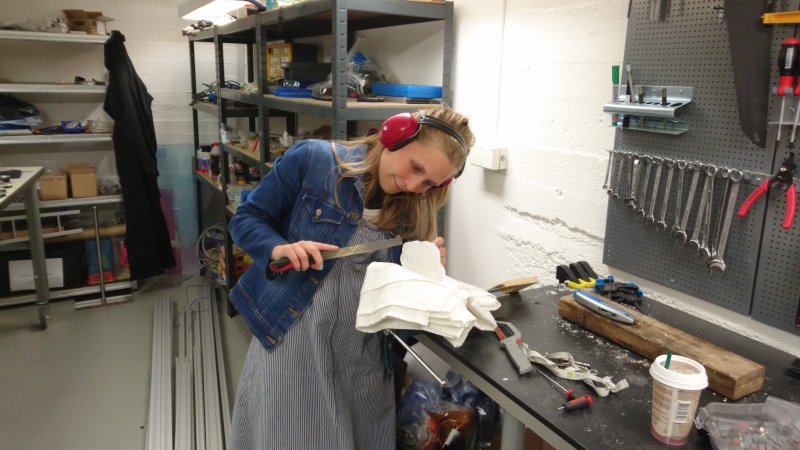 Patricia is deburring the plexi to get rid of the sharp edges.
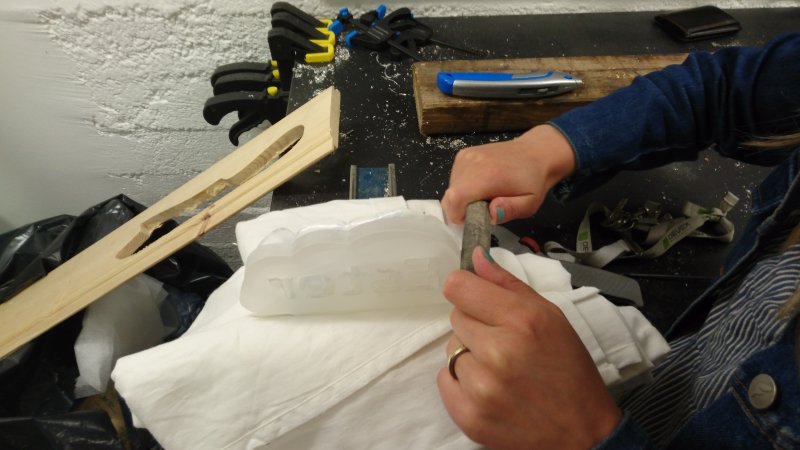 It is important to clamp the plexi using a rag or something similiar to protect the finish from scratches.
The Electronics
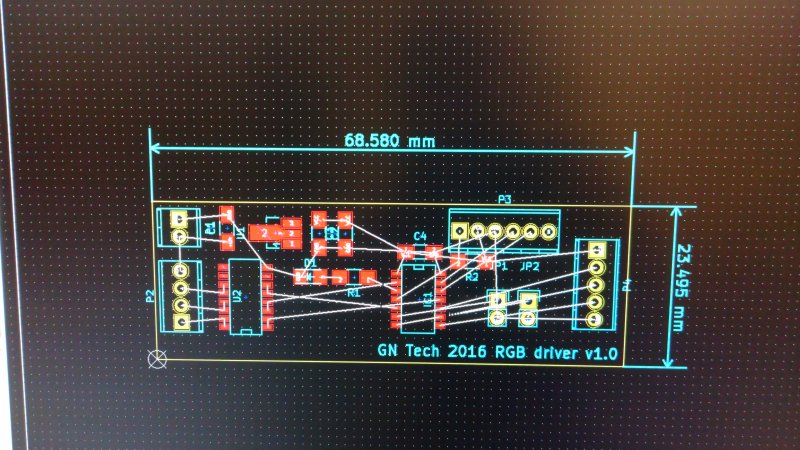 I created the PCB layout in Kicad as I usually do.
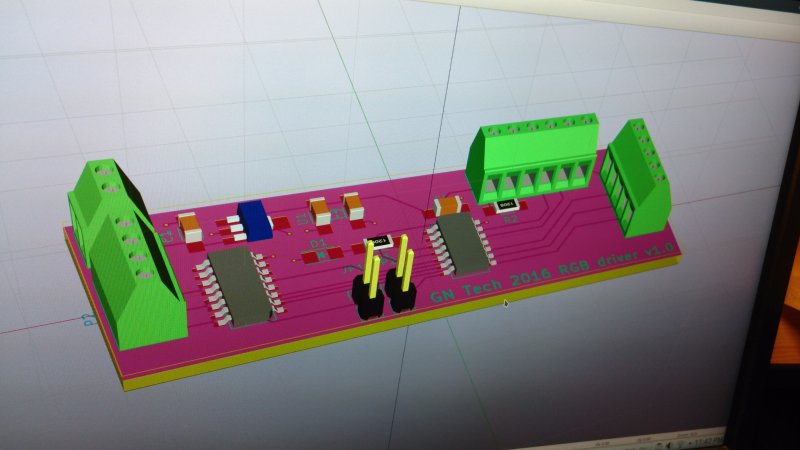 Kicad has a nice 3D-view mode that renders the card and components and creates a nice visualisation of the final result.
![]() Here is the PCB direct from the manufacturer dirtypcbs.com.
Here is the PCB direct from the manufacturer dirtypcbs.com.
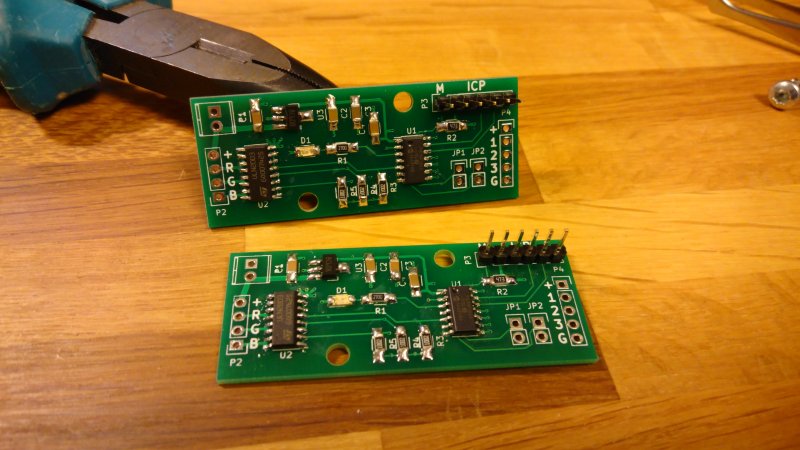 There is only a handful components on the card. The current to the LED-strip is sunked via a PWM controlled ULN2003 darlington array. I have 2 channels in parallel for each color. This gives a maximum possible current sink of 1A per color.
Putting it all together
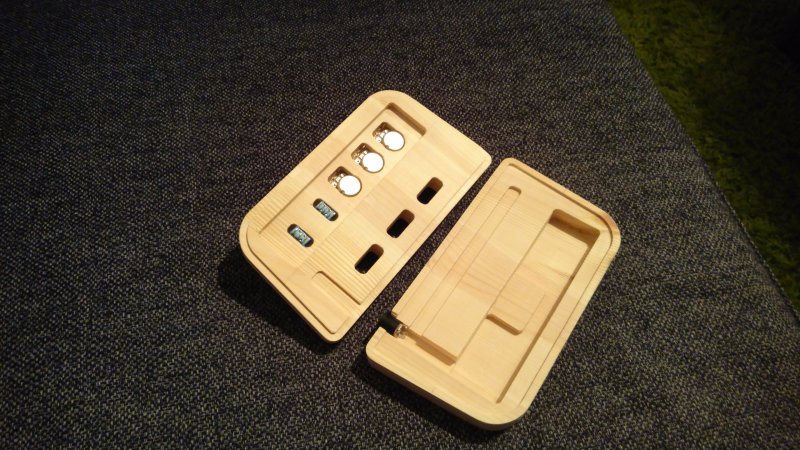 The potentiometers and on/off-switches fits perfectly in the milled slots. This picture is of a prototype made of pine wood.
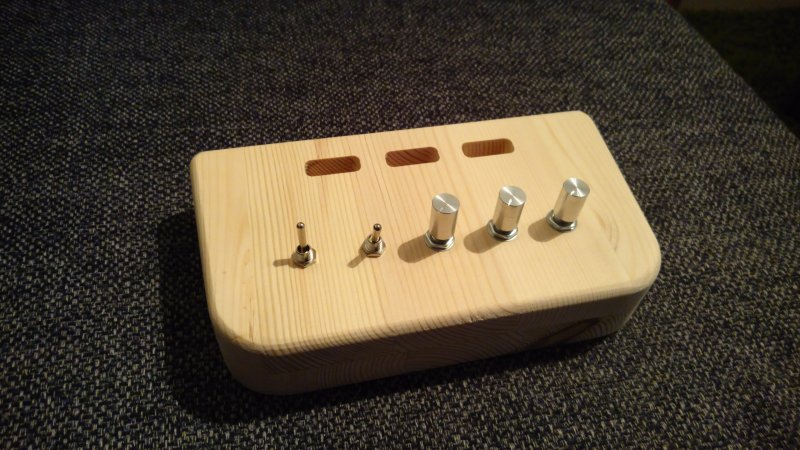 This is what it looks from the outside with the pots and switches assembled.
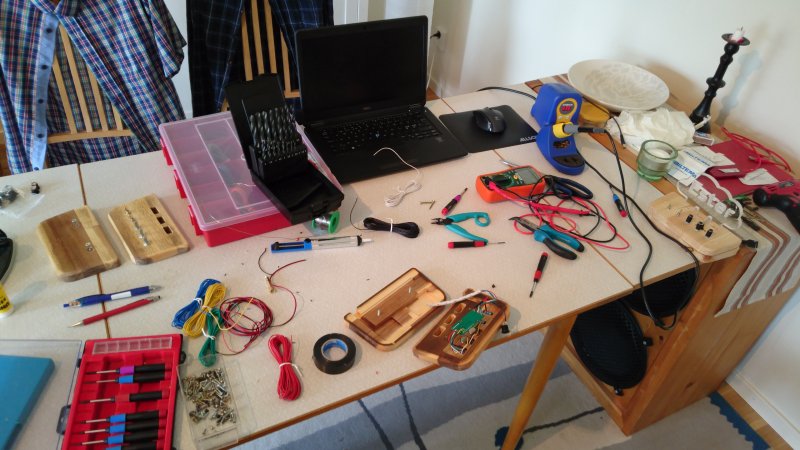 Here I have started to solder everything up to the PCB. It usually turns out quite a mess like this when I start soldering and cutting cables. But hey, it's fun :)
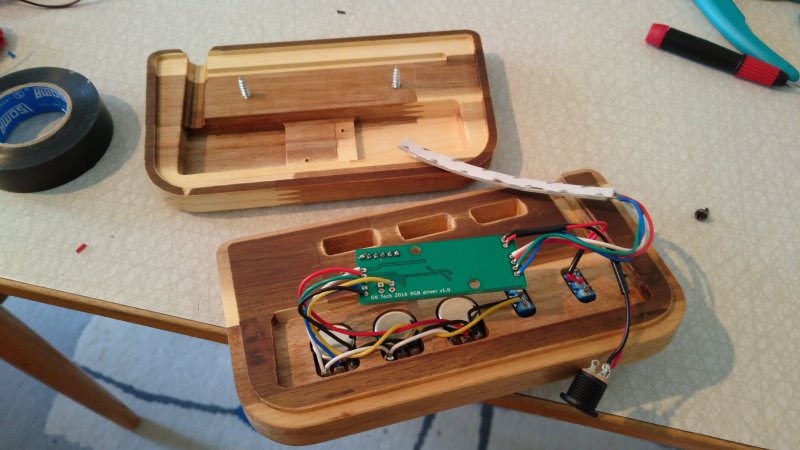 Here some of the internal wiring is shown.
 The micro processor is programed using the PicKit 3 and ICP (in-circuit-programming).
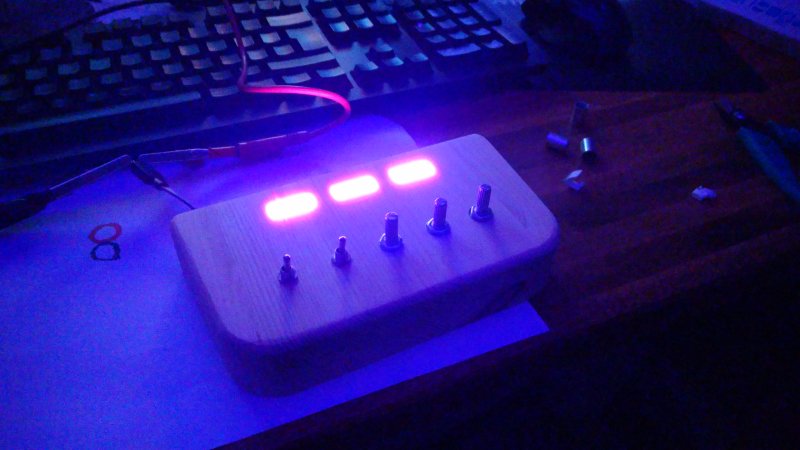 And a little light test without the plexi installed.
Result
Here are some pictures of the final result. We are creating these as gifts to friends and family.